Trezor.io/Start — The Complete Step-by-Step Guide to Setting Up Your Trezor Wallet
Learn how to set up, secure, and use your Trezor hardware wallet through Trezor.io/start — your gateway to crypto safety.
🔒 Why Trezor Matters in the Crypto World
In the world of cryptocurrency, security isn’t just important — it’s everything. As more users explore digital assets, hackers, phishing attempts, and wallet breaches have become common. This is where Trezor stands out. Developed by SatoshiLabs, Trezor is one of the first and most trusted hardware wallets in the world.
Unlike online wallets or exchanges, a Trezor device stores your private keys offline, ensuring your crypto stays safe even if your computer is compromised. The Trezor.io/start portal guides users through secure setup, firmware installation, and crypto management using Trezor Suite.
“Trezor isn’t just a wallet — it’s a personal vault for your financial sovereignty.”
🚀 Getting Started with Trezor.io/Start
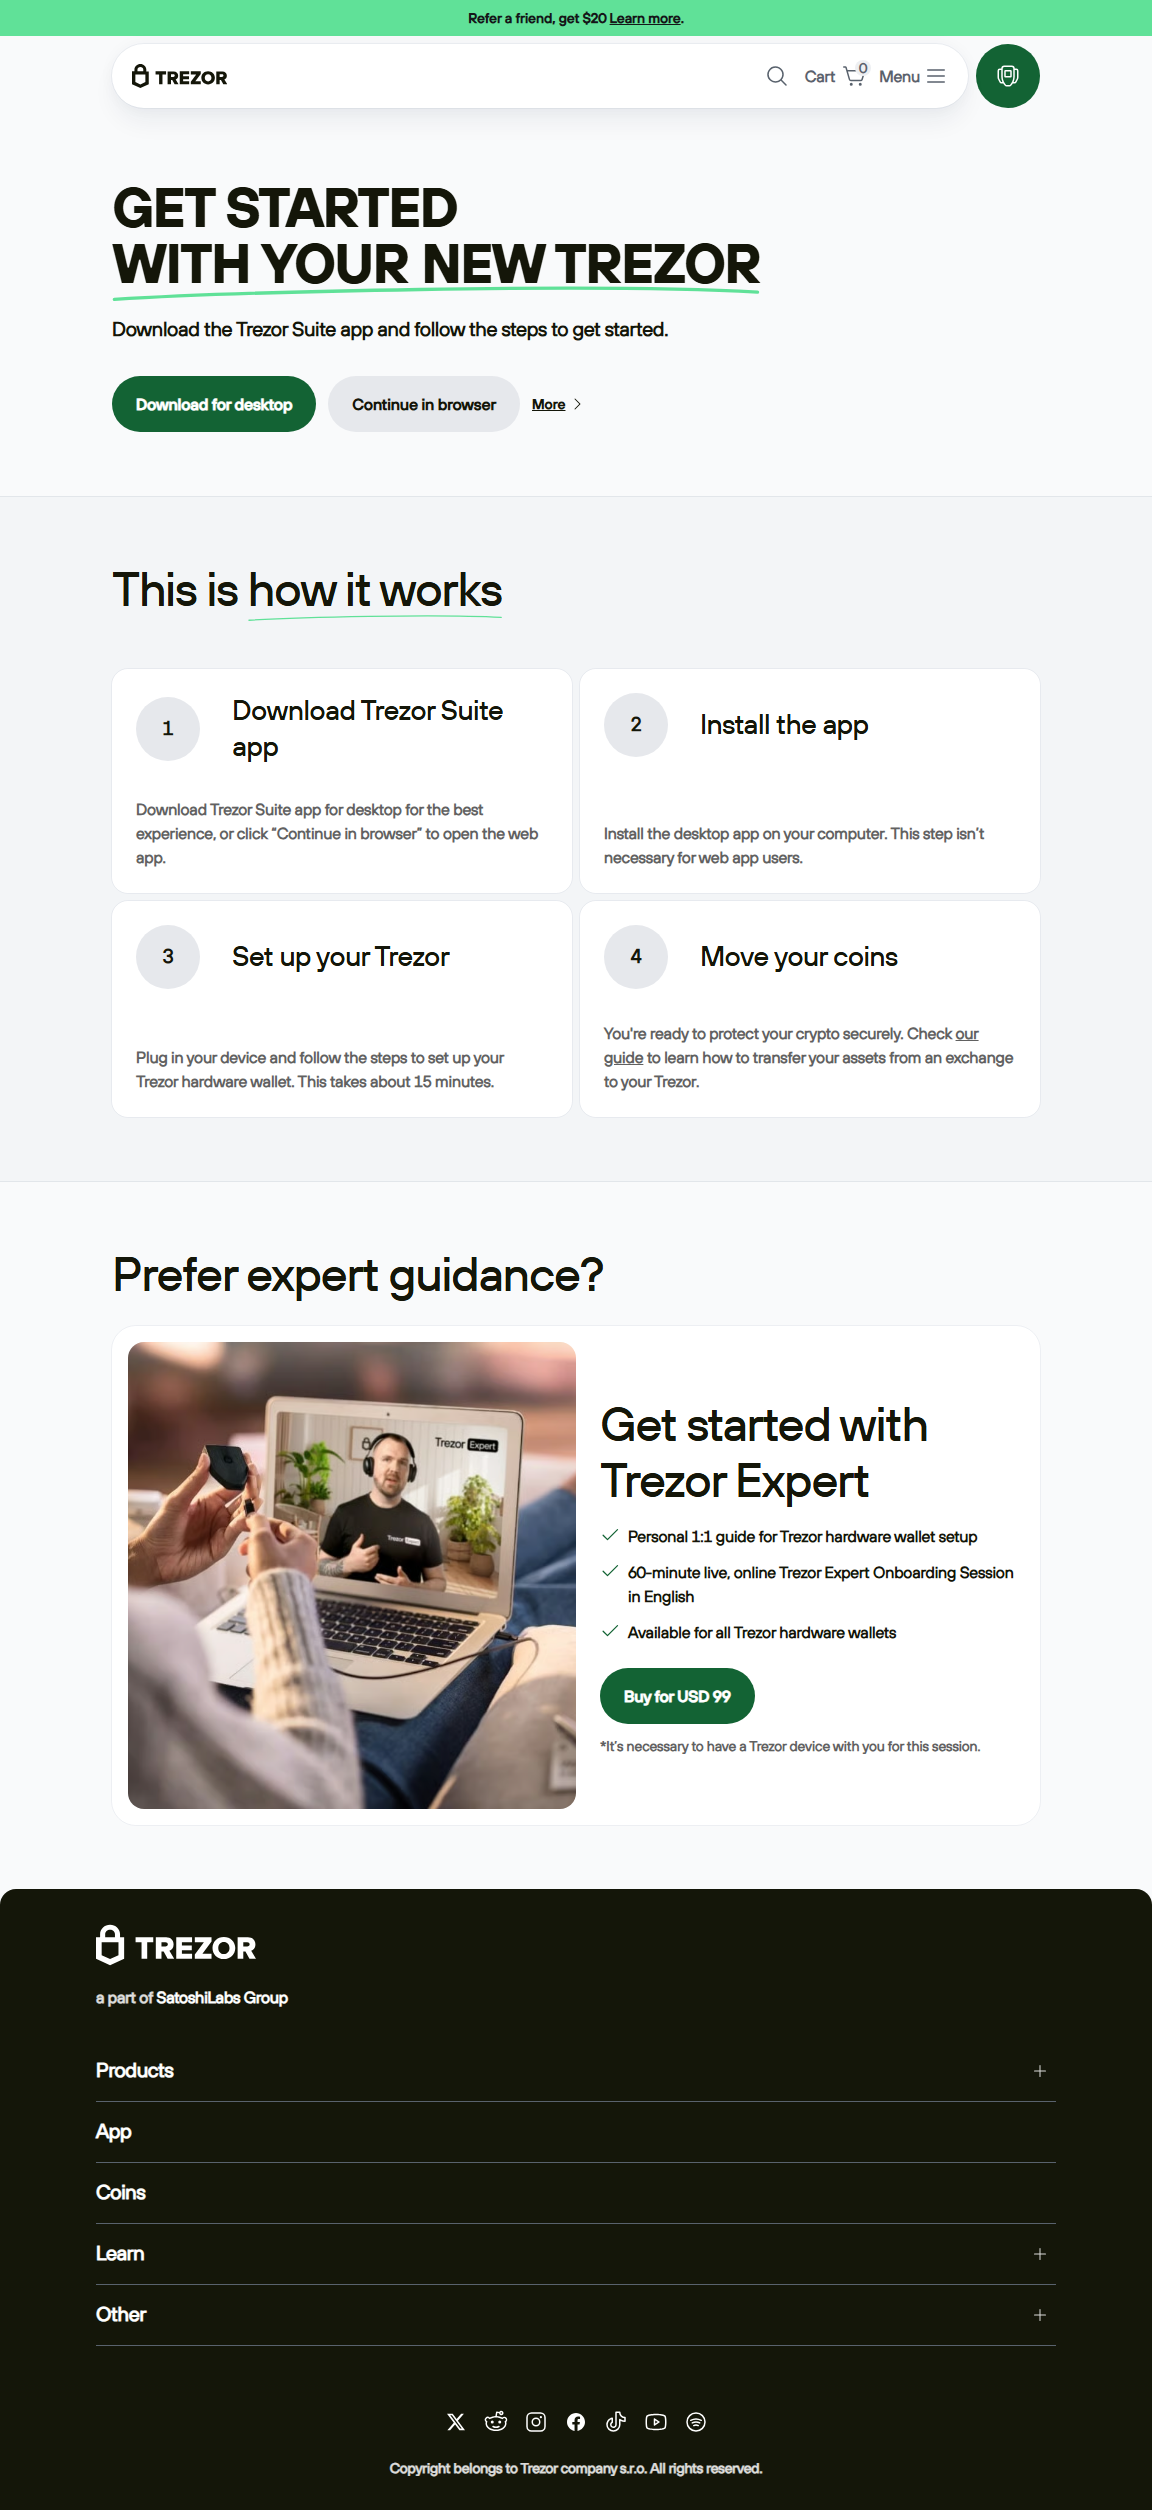
The setup process through Trezor.io/start is beginner-friendly but designed with maximum security in mind. Whether you own a Trezor Model One or the advanced Trezor Model T, the steps are quite similar.
Step 1: Visit Trezor.io/Start
Connect your new Trezor wallet to your computer using the provided USB cable. Then open your web browser and go to https://trezor.io/start. This official link ensures you’re not redirected to phishing sites pretending to be Trezor support.
Step 2: Install Trezor Suite
Trezor Suite is the official desktop application used to manage your crypto assets. It replaces older browser-based interfaces with a secure, streamlined experience. Download it from Trezor.io/start and install it on your system (Windows, macOS, or Linux).
Once installed, Trezor Suite will guide you to connect your device and check for the latest firmware update. Updating ensures that you have the newest security patches and performance improvements.
Step 3: Create a New Wallet
After connecting your device and verifying firmware, click “Create new wallet.” Your Trezor will generate a unique seed phrase — a sequence of 12, 18, or 24 words. This is your master key to recover funds if your device is lost or damaged.
Step 4: Set Up PIN and Password
Next, you’ll be prompted to create a secure PIN for daily access. Optionally, you can add a passphrase (an advanced feature) for extra protection. This acts as a “25th word” to your recovery seed — adding another layer of security.
Step 5: Add and Manage Coins
Once setup is complete, you can start adding supported cryptocurrencies such as Bitcoin, Ethereum, Litecoin, and many ERC-20 tokens. Trezor Suite provides real-time portfolio tracking, transaction history, and customizable security settings.
💡 Understanding Trezor’s Core Features
| Feature | Model One | Model T |
|---|---|---|
| Display Type | OLED (2 buttons) | Color touchscreen |
| Supported Coins | 1000+ | 1600+ |
| Security Chip | Standard MCU | Enhanced MCU + Secure boot |
| Backup Options | Standard recovery seed | Shamir backup available |
Both devices maintain the same high level of core security. The main difference lies in usability and convenience. If you prefer a touchscreen and more coin support, the Model T is ideal. For budget-conscious users, Model One remains a reliable and battle-tested option.
🔍 Comparing Trezor to Other Wallets
There are many crypto wallets, but few match Trezor’s open-source ethos and transparent design. Below is a quick comparison:
| Wallet | Security Level | Ease of Use | Open Source |
|---|---|---|---|
| Trezor | Hardware-based, PIN + Seed | Beginner Friendly | ✅ Yes |
| Ledger | Hardware-based, proprietary OS | Easy | ❌ No |
| MetaMask | Software-only | Very Easy | ✅ Yes |
Trezor’s open-source codebase allows the community to audit and verify its security, making it a favorite among privacy-conscious users.
🧭 Advanced Tips for Mid-Level Users
- Use Passphrase Wallets: Create hidden wallets within your Trezor by using unique passphrases. Each passphrase generates a new wallet that only you can access.
- Enable Shamir Backup: Available on the Model T, this allows you to divide your recovery seed into multiple shares for distributed safety.
- Regular Firmware Updates: Security enhancements are frequent. Always keep your device updated.
- Use Trezor with Tor: For extra anonymity, Trezor Suite allows connection through the Tor network.
- Integrate with third-party wallets: You can use Trezor with platforms like MetaMask for DeFi access — still maintaining cold storage security.
❓ Frequently Asked Questions (FAQ)
Q1: What is Trezor.io/start used for?
It’s the official onboarding portal for Trezor hardware wallets. It helps users install Trezor Suite, update firmware, and safely set up a new wallet.
Q2: Can I recover my wallet if I lose my Trezor?
Yes. Using your recovery seed (and passphrase if used), you can restore access on any Trezor or compatible hardware wallet.
Q3: Is Trezor safer than keeping crypto on exchanges?
Absolutely. Exchanges control private keys on your behalf, while Trezor ensures only you have access — making it immune to exchange hacks.
Q4: How often should I update my firmware?
Check for updates every few months or whenever Trezor Suite prompts you. Updates often include vital security improvements.
Q5: Can Trezor hold NFTs?
Yes, through integrations with platforms like MetaMask, you can safely view and manage NFTs while keeping your keys offline.
📚 Related Crypto Terms Explained
- Cold Wallet: A storage method that keeps private keys offline, like Trezor.
- Private Key: The cryptographic code that gives you ownership of your crypto assets.
- Seed Phrase: A set of words used to recover your wallet if it’s lost or damaged.
- Firmware: The internal software that runs your Trezor device.
- DeFi (Decentralized Finance): Blockchain-based financial services that can integrate with hardware wallets.
🏁 Conclusion: Your Crypto, Your Control
Setting up your device via Trezor.io/start is the first step toward owning your digital wealth securely. With offline key storage, open-source verification, and intuitive tools, Trezor empowers you to safeguard your assets confidently.
Whether you’re a beginner taking your first step into crypto or a mid-level user expanding your portfolio, mastering Trezor ensures that your financial freedom remains under your control — exactly as crypto was meant to be.